How to Draw A Dolphin Easily
How to Draw A Dolphin. Dolphins have a very positive image among sea lovers around the world. While sharks are known to be scary and dangerous, dolphins exude a much friendlier vibe.
Also, check our Cute Lizard Coloring Pages.
They swim and play with people, and some have even been known to rescue people lost at sea!
If you love dolphins, you may have wondered how to learn to draw one but don’t know where to start.
We created this step-by-step guide on how to draw a dolphin in just 7 easy steps! If you follow this guide, you will be drawing cool dolphins very quickly!
How to Draw A Dolphin
Step 1
In the first step of this tutorial on how to draw a dolphin, let’s start small! First of all, you can draw the characteristic snout of the dolphin.
The snout will curve sharply before spreading out and forming the beginning of your dolphin’s face. You can use the reference image to guide how it should look!
Step 2
A dolphin has a big round head, and we will draw a dolphin drawing in this second step of our dolphin drawing tutorial.
To add the head, carefully draw a rounded line for the top of the head and then a slightly less rounded line for the bottom.
I recommend drawing the individual stages of the dolphin’s body with a pencil, as getting the shape right at first can be tricky!
Once you’re happy with the dolphin’s appearance, you can always go over the pencil with the pen.
Step 3
Now that the head of your dolphin drawing is complete, you can start adding the body. First, you can use a curved line for the dorsal fin on the dolphin’s back.
Then you can use a very curved line for the dolphin’s back.
Where the bottom of the head ends, use a curved line to form a fin for your dolphin. Now it’s starting to look like a dolphin!
Step 4
In the next step of this dolphin drawing guide, we will add some lines to get a little more of the body.
First, draw a slightly curved line from the fin down to the tail.
Then you can curve the line at the end and the end of the back line outward to form the beginning of the tail.
Step 5
The outline of your dolphin drawing is almost complete and needs one more line.
You can connect the two ends of the tail line with a curved line to complete the look of the tail and make it look like the reference image.
If you’ve been using a pencil until now, if you’re happy with how your dolphin’s body looks, you can go over it with a pen.
If you do this, let the ink dry before rubbing the pen underneath. Otherwise, the ink may smudge!
Step 6
Your dolphin drawing is almost complete now, and you should be very proud of what you have achieved so far! Now, you have to draw a face that we’ll add for this part.
You can recreate the face we used in the reference drawing, but don’t be afraid to change it up a little if needed!
You can change the lines of the mouth or the eyes to give your dolphin a new expression.
When you finish drawing and feel extra creative, you can design a cute background for your photo.
Step 7
With those final details complete, your dolphin drawing needs one more step!
This should be a lot of fun because you will have fun being creative and letting your imagination run wild while coloring your cool dolphin drawing.
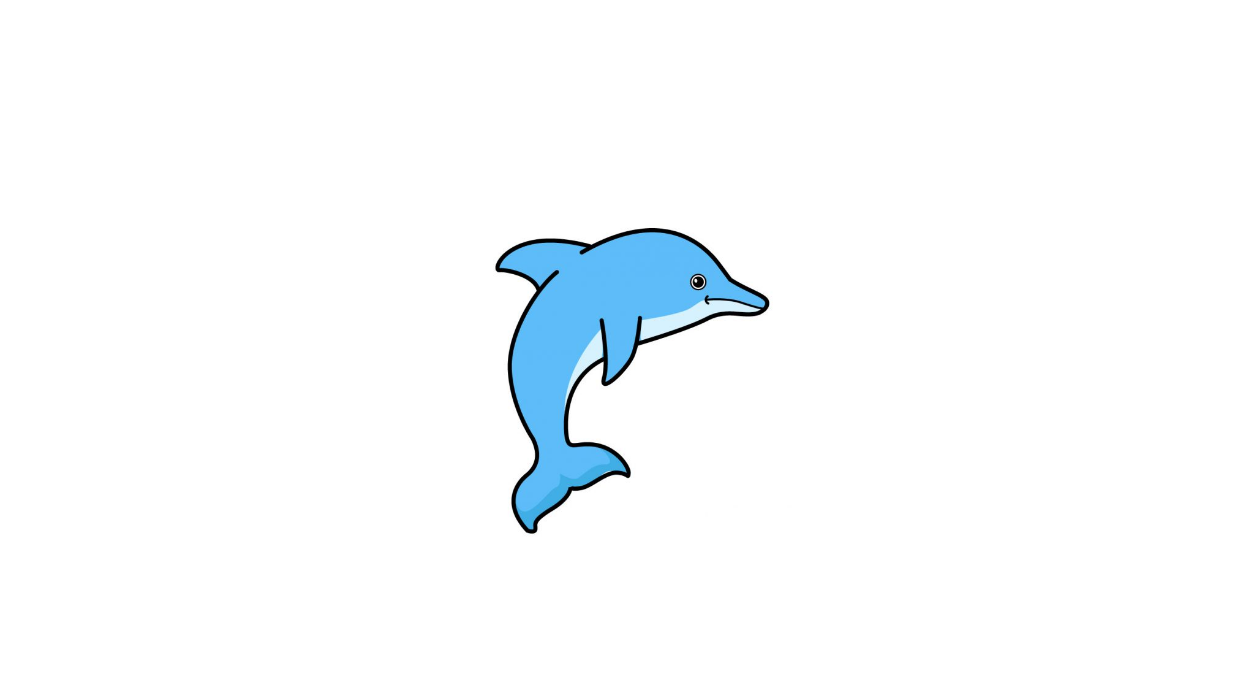
We showed one way you can colorize it for our reference image. So you can use these colors or choose your favorite ones to color in!
Besides color choices, you can also have a lot of fun trying different artistic mediums for coloring.
Some examples could be acrylic paints, watercolors, crayons, and pencils.
Different mediums can create different looks in color and texture, so you can experiment and see what suits you!
Your Dolphin Drawing is Finished!